Taking the Leap
Maybe you’ve already made the jump to Windows 10, or perhaps you haven’t dared to click the “upgrade now” button. If you fall into the latter category, and are leery of upgrading to Windows 10, perhaps you should consider that Microsoft’s latest operating system has already proven to be a worthy replacement to previous editions. And the sighs of “but I just learned Windows 7” has been replaced with “wow, this is really cool!”
At home, I’ve been testing an upgrade to Windows 10 for about 5 months. I wanted to try it with something I don’t rely on to make a living – so if it broke, I’d still be able to feed my kids. After watching my girlfriend have all the fun, I decided to take the plunge and upgrade. Two hours later, I was comfortably humming along using all my important programs without a hitch. As an IT guy, this was mighty impressive.
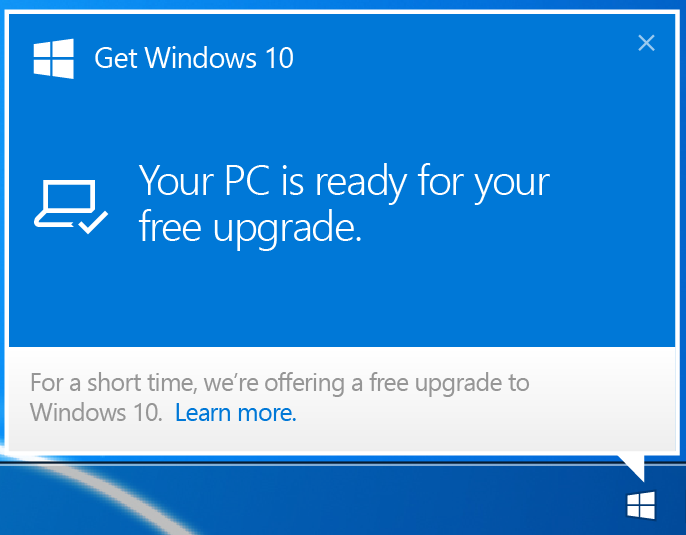
An upgrade to Windows 10 is free for qualifying editions of Windows. If you have Windows 7 or 8, chances are you’re eligible for a free upgrade to Windows 10. If your computer hasn’t already prompted you about the free upgrade, you can go to https://www.microsoft.com/en-us/software-download/windows10 and follow the steps to install it.
In a straightforward upgrade to Windows 10, it automatically keeps all your settings, programs and personal files intact. The upgrade process takes between 1 and 2 hours to complete. During the process, your computer will restart several times. It’s important to keep your computer on, and not turn it off – even if the upgrade appears to have stalled. Doing so can cause the upgrade to fail, and may require professional assistance to get up and going again. Speaking of that, if you aren’t comfortable upgrading on your own, hire a professional to help. This is especially important if you use your computer for business.
Don’t be surprised if you are a little lost while learning the new user interface. Having been through a number of upgrades with folks, I’ve compiled some tips that might help you get started.
Make Internet Explorer your default browser
The upgrade to Windows 10 comes with a snazzy new web browser called Edge. After upgrading to Windows 10, you’ll notice Edge is the default browser – meaning any links you click or websites you visit will automatically want to launch with Edge. While Edge is pretty fast, a lot of websites don’t work well with it yet. And trying to find Internet Explorer, which is buried in the system, can be a challenge. To change your default browser, go to Start, then Settings, and choose “Default Apps” from the list. Scroll to the bottom and under “Web Browser”, select your favorite browser. And to make Internet Explorer appear in the start menu, type “Internet Explorer” in the search bar to the right of the start menu. Right-click and choose “Pin to Start”. Now Internet Explorer will be easy to find!
Pin commonly used programs to Start
After upgrading to Windows 10, your programs will all be listed on the Start menu under “All Apps”. While scrolling through a lengthy list of programs may seem like a fun idea to some, for me it was painful. For programs that I use a lot, I right-click and choose Pin to Start or Pin to Taskbar. Pinning to the start menu makes it appear on the right side of the Start Menu as a large tile. Pinning to the taskbar makes the icon appear on the bar that runs along the bottom of your screen.
Pin commonly accessed locations to quick access
I have many commonly used locations I store documents and other files. You’ll notice in File Explorer a list of locations at the top left under “Quick Access” with a pushpin just to the right of the description. These items have been added to quick access, which brings them to the top of the list. If you want to add a folder location here, browse to it and right-click the folder. Choose “Pin to Quick access” and voila, its not part of your Quick access list. To remove an item, right-click again and choose “Unpin from Quick access”.
Use the Search bar to find anything
If you can’t find a program of file after upgrading to Windows 10, use the search bar to find it. The search bar is located just to the right of the start menu button, on the lower left-hand part of your screen. The search bar will not only search your entire computer for a file or program matching what you enter, but also gives you options to search the web. This is very useful, and I’ll admit I use it as a shortcut to launch programs like Microsoft Word or Excel – or find that file I swear I just saved but can’t seem to find!
After Upgrading to Windows 10, Read the manual
I know what you’re thinking, read the manual? How absurd. Windows 10 has a built in application called “Get Started” which is very useful for getting to know Windows 10. There’s a ton of useful information, tips, and general knowledge that will have you impressing your friends and relatives in no time. Simply go the Start, then “all apps”, and scroll to “Get started”.
Reader Interactions